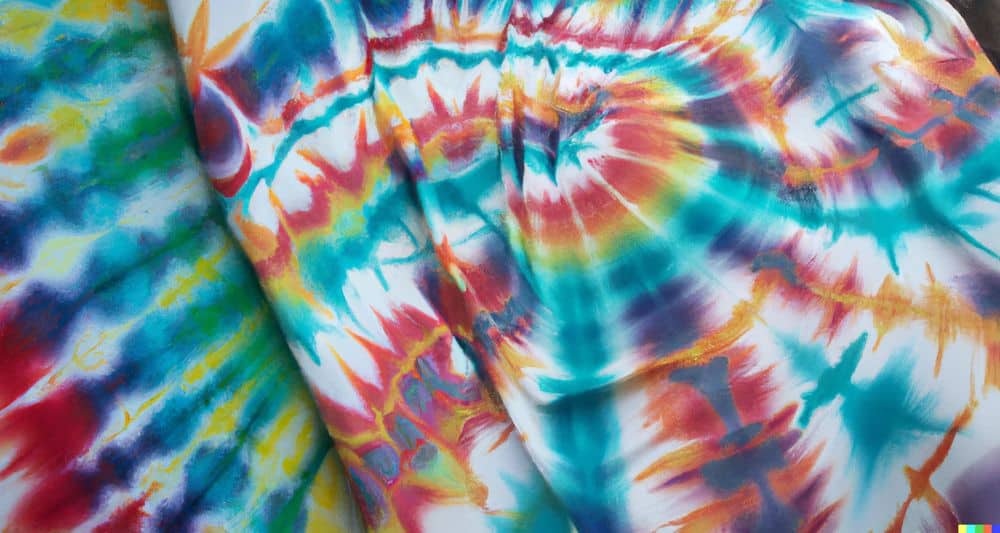
Tie dyeing has become a popular activity over the past few years, with people of all ages experimenting with making their own unique designs. But what about tie dye pleat? It’s a creative technique used to create a unique, pleated pattern on fabric.
In this article, we’ll show you how to tie dye pleat and turn ordinary fabric into something extraordinary. Read on to learn more!
Preparing for Pleating
The first step in tie dye pleating is, of course, gathering your supplies. You’ll need the following items:
- Tie dye kit or fabric dye
- A white or light-colored t-shirt
- A large bucket
- Rubber bands
- A flat work surface
Once you’ve gathered all the materials, you’re ready to start prepping your shirt for pleating.
How to Tie Dye a Pleated Shirt
Tie-dyeing pleated shirts can be an exciting and creative way to add color to your wardrobe. With this step-by-step guide, you can learn how to create unique, beautiful tie-dye patterns on a pleated shirt.
1. Prepare your workstation. Start by laying out your shirt on a flat, clean surface. Make sure the shirt is damp but not soaking wet.
2. Create your pleats. Start by folding the shirt in half lengthwise. Then, pinch the fabric at the top of the fold and begin pleating the shirt. As you pleat, make sure the folds are even and run parallel down the length of the shirt.
3. Secure the pleats. Once you’ve finished pleating, use rubber bands or string to secure the pleats in place. This will keep them from unraveling while you’re tie dyeing.
4. Prepare your dye. Follow the instructions on your tie-dye kit to mix up whichever colors you’d like to use. Make sure that the dye is thoroughly mixed before continuing.
5. Apply your dye. Start by squirting or pouring a small amount of dye along the top of the pleats. Make sure to apply the dye.
Advanced pleating technique
If you’re looking to take your pleats to the next level, you can explore far more complicated folding and dyeing techniques.
From slanted pleats to fractional pleats and zig-zag pleats, the possibilities are practically endless. With some practice and effort, you can gain the ability to modify and manipulate your pleats with great control.
You can even get creative with how you dye your pleats. Why not try dyeing them in a zig-zag pattern for an interesting effect? With the right techniques and a bit of experimentation, you can make your pleats truly unique.
Pleat tie dye patterns
Pleat patterns are a key element of tie-dye pleating, as they determine the overall design and effect of the finished shirt.
Some popular pleat patterns include the accordion pleat, which creates a rippling effect; the box pleat, which creates a series of rectangular shapes; and the knife pleat, which creates a series of triangular shapes.
To create a unique and personalized pleat pattern, you can experiment with different combinations of pleats, such as alternating between accordion and box pleats, or layering multiple types of pleats on top of each other.
Another option is to use different colors of dye on different sections of the pleated shirt, creating a layered effect. With a little creativity and experimentation, you can create an endless variety of pleat patterns for your tie-dye shirts.
Conclusion
In conclusion, tie-dye pleating is a fun and creative way to add a unique touch to your wardrobe. By following the steps outlined in this guide, you can achieve beautiful and professional-looking results.
The key to successful tie-dye pleating is to take your time and be precise when pleating the shirt, and to be patient when applying and setting the dye. With the right materials and techniques, you can create a wide range of different pleat patterns and color schemes.
Remember to always follow the instructions on your dye and be cautious when handling the chemicals. And don’t be afraid to experiment and try new things.
With a little practice, you’ll be able to create beautiful tie-dye pleated shirts that are sure to be a hit with your friends and family.
